
Within the almost infinite possibilities of Android, we found one that may surprise many (myself when I had news): that of send faxes. It is because this is a communication channel practically in disuse that the applications dedicated to the task are a small relic / jewel, capable of saving our lives at some specific moment. Today we talk about fax burner and its possibilities when using it from a mobile or tablet.
I don't remember any of my friends or family having a home fax, not even the need to use such a machine beyond once or twice a year. However, there have always been certain legal or contractual practices that governed the exchange of faxes and, despite the fact that the email has almost completely displaced such activity, it is still necessary to look for a site that offers us the service from time to time.
Fax Burner: Download and Installation
This app is what most basic that we can find in Android to send a Fax. Its download and use are Returns up to three pages sent or 25 pages received. For higher volume documents, you have to pay.
We proceed to the installation from this link:


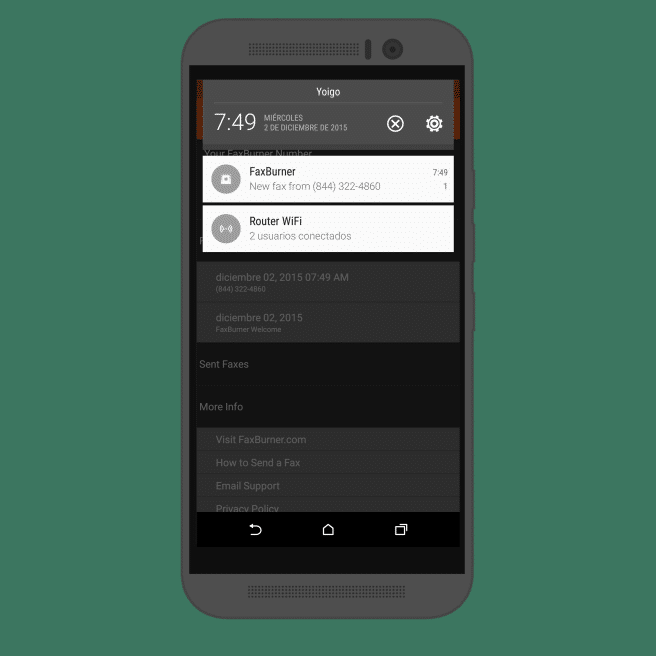
Once we have Fax Burner in our terminal we must do a couple of things to start it up. The first one is To open an account on this platform. We will do it with our usual email and password. The second is get a fax number. If we did not have any before, the application will provide it to us.
Scan a document
In most cases, what we need to send via fax is an invoice, form or document that we have physical copy (on paper), therefore, it is necessary to generate a digital capture before preparing the shipment.
Fax Burner does not have a very efficient scanning system. Yes we can take photos, but in this post you will be able to know much more complex forms and with better results for scan pages from your same Android tablet or mobile.
How to carry out a shipment
To function, the application must coordinate with the mail electronic. We can use an account from any platform such as (gmail, Outlook, Yahoo, etc.), corporate profiles or even a personalized address if we work with it.
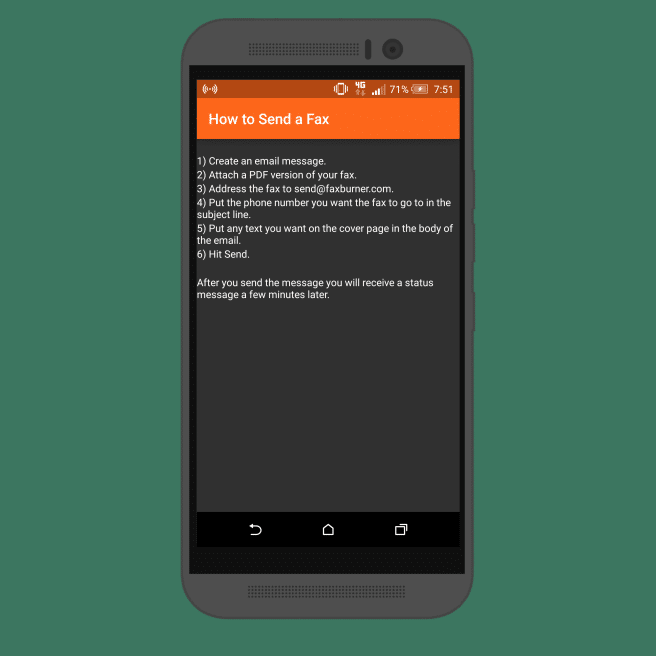
The steps to follow are those. Once we have the scanned document (it must have a format PDF), need:
1) Go to our email
2) Create a new message
3) Attach the file that we want to send
4) Write the number of the recipient of the fax in the Subject
5) Write in the body of the message the subject or a description if we need it
6) Send the mail to send@faxburner.com
To check that everything has gone well we have a section within the main interface of the application called Sent Faxes.
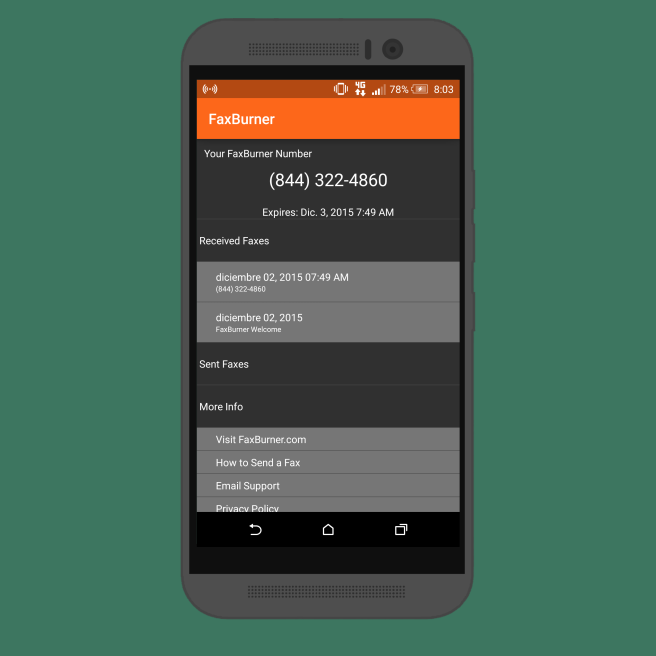
In that section a shipping list and by clicking on them we will be able to see the sent file. When a fax arrives, it will be notified in our associated email account.