
La Nexus 7 first generation is a device that we have special affection for in TabletZona. In our opinion, it came to revolutionize the segment, reformulating what Apple proposed with the iPad and opening new paths of evolution for tablets. However, we must recognize that it is not a device capable of aging too well, although rooting our unity will be able to better express many of its virtues.
The point is that, in principle, things looked very good: The Nexus 7 from 2012 came with a processor Nvidia Tegra 3, to which, an extraordinary performance was supposed. With the passage of time and the load of updates, however, many of us witnessed how the model started to get heavy and reproduce worrying lags; something that did not happen later, for example, with the Nexus 4 (Snapdragon S4 Pro), which already showed an enviable fluidity even for the high-end of a couple of years later.
Advantages of being root
Be Super user on Android it has many advantages, such as we explain to you on some occasion. The main one in this case is that it will allow us to install ROMs capable of exceeding in many respects what the native Nexus 7 system offers with all subsequent updates.
CyanogenMod is probably the most popular project to bring the latest versions of Android (turned into extremely smooth and well-optimized software) to all kinds of mobile devices. Although for now, the latest CM released ROM for the Nexus 7 is 12.1, which corresponds to Lollipop 5.1, presumably soon a CyanogenMod 13 Nightly Edition already based on Android 6.0 marshmallow.
Previous step: Backup of all data
Running root in the way we are going to describe involves a system restore until it is practically clean, as it comes from the factory, but with certain permissions enabled. Therefore, it is important that before starting, you save all the content that you do not want to lose.
If you have doubts about it, you can take a look here: How to copy your content, settings and applications from one Android to another when you change your tablet or smartphone.
Development options
To carry out the process, we will need to unlock the developer options. We enter Settings> Tablet information and look for a section called Build Number. We tap on the code repeatedly and a countdown will begin with the missing taps to enable these options.
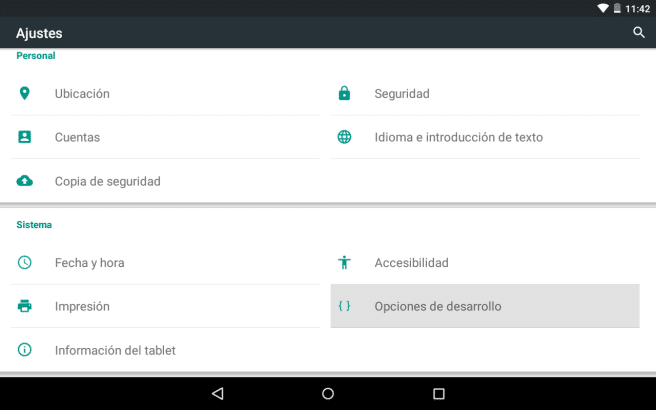
As long as the development options are visible in Settings, we must access them, turn on the switch that corresponds to USB debugging.
Download ToolKit for Nexus 7
Well, before continuing we must clarify the following: this process is more or less easy, but if any of the steps fails, the device that we are trying to root may be useless. In addition, any software modification such as the ones we explain here, usually voids the product warranty.
We are not responsible for any unsuccessful attempts. Attempting this at home is at your own risk.
El tool kit that I have installed to do the test I have taken it from the guys at XDA. It is a simply fascinating tool. Not only does it guide us through the process to make it easy, but it also supports all devices Nexus (up to 6P and 5X), many of the line Samsung galaxy (up to S6 Edge) and OnePlus One and 2.
Here is the link to download:
It is an executable file (.exe) that we must install on our PC and update if we are offered that option.
How to initially trade with the program
In principle, the interface will present us with different teams to carry out the task we want. We take, in this case, the Nexus 7 V.1 (we write the corresponding number, 07 in this case, and press Enter) and then we select the version of our current OS that we will find in Settings> Tablet information.

We will arrive at a screen like the following.
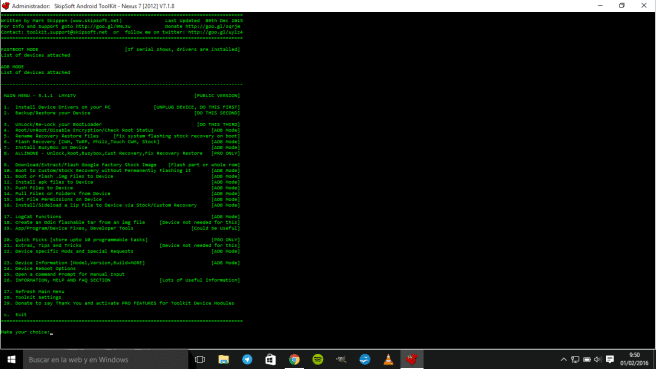
In it we press 1 and Enter to download the drivers for the Nexus 7 and wait for the job to finish. Then we must connect our tablet with the USB cable to the PC and press to carry out task 2. 'Backup and Restore your tablet '.
Release the Bootloader
Before we can install anything in our terminal, we need to release the boot so that the pre-installed software is not always loaded, irretrievably. To do this, with the cable well connected to the PC and with the USB debugging activated, we type a 3 ('Unlock or Re-lock your BootLoader') and Enter.
We must warn the following: If we disconnect the cable from the computer at this time, it is very possible that the tablet becomes directly into a paperweight, so care with this. The team will work at its own pace rebooting the system until at the end we see a boot screen with an open padlock underneath. When it is ready we will receive an OK and we can move on to the last point of this guide.
Run the Root
Section 4 within the program: 'root your tablet'. We will also have to start with the USB debugging activated and we recommend not disconnecting the cable at any time. The equipment can be restarted several times, but it is an automatic process, until the start menu appears on the screen. ClockWorkMod which looks something like this:
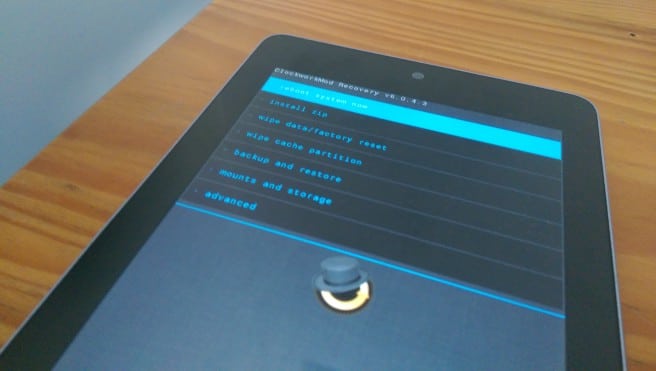
Click on Wipe Data / Factory Reset> Yes. Then Install Zip> Choose zip from / sdcard> / 0> and in that folder we look for a command that contains the word 'SuperSU'and the extension'.zip'and click it.
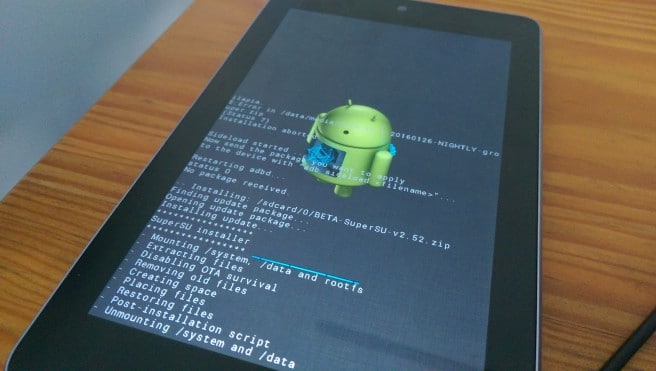
When the process is finished we will return to the main menu and click on 'Reboot system now'.
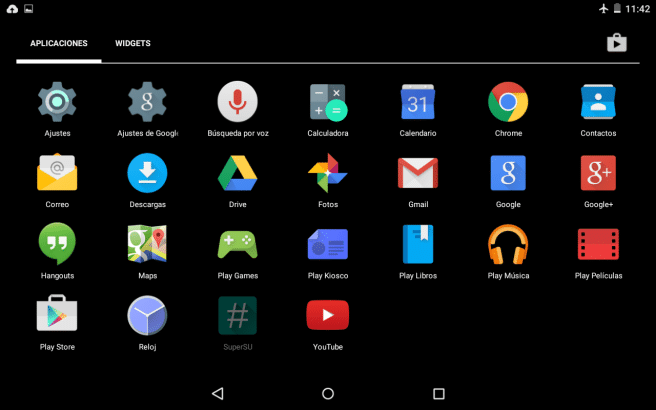
When starting Android, we will see in our application drawer an icon like the one in the image above (#). In this way we know that our tablet is rooted.
Now If you want to install CyanogenMod, This complete guide has recently been published on the Internet. Head over to their site!
Well, this guide helped me more or less, they skipped a few steps and what do I know but it is quite effective. 9/10. My only problem is that I am trying to install the cyanogen mod but it bounces to the screen with the android monkey with my belly open: / Does anyone have an idea why this happens?
It is important to do a factory reset before installing CM.
If the traditional method still doesn't work for you, try flashing with an app like ROM Manager or Flashify. They have taken me out of trouble on occasion.
Luck !!